
Electric vehicles (EVs) are zooming into our lives, and charging them at home is super easy and fun! Imagine waking up to a fully charged car every day no gas station trips needed. This guide walks you through installing a home EV charger step-by-step. It’s written just for you, with simple tips and tricks to make it a breeze.
- Save Money: Charging at home costs less than public stations.
- Be Ready: Your EV is always charged and ready to roll.
- Help the Planet: EVs are green, and home charging keeps it simple.
1. Picking the Right EV Charger for Your Home
Choosing an EV charger is like picking the perfect toy it’s gotta match your car and your house! There are two main types Level 1 and Level 2 chargers. Level 1 uses a regular outlet, but it’s slow. Level 2 is faster and needs special wiring, which we’ll explain later.
- Level 1 Charger: Plugs into a 120-volt outlet, adds 4-5 miles of range per hour.
- Level 2 Charger: Uses a 240-volt outlet, adds 20-30 miles per hour zoom!
- Check Your Car: Some EVs need specific chargers, so read your manual.
- Unique Tip: Look for chargers with Wi-Fi to track charging on your phone!
2. Checking Your Home’s Electrical System
Before you plug in, make sure your house can handle the power. Your electrical panel is like the heart of your home’s energy it needs to pump enough juice! Most homes have a 100- or 200-amp panel, but older ones might need a boost. Call an electrician if you’re unsure.
- Find Your Panel: It’s usually in the garage or basement.
- Look at Amps: Level 2 chargers need 30-50 amps check if you’ve got space.
- Safety First: Don’t overload your system, or it might trip!
- Cool Fact: Some panels have a secret slot for upgrades ask a pro to peek.
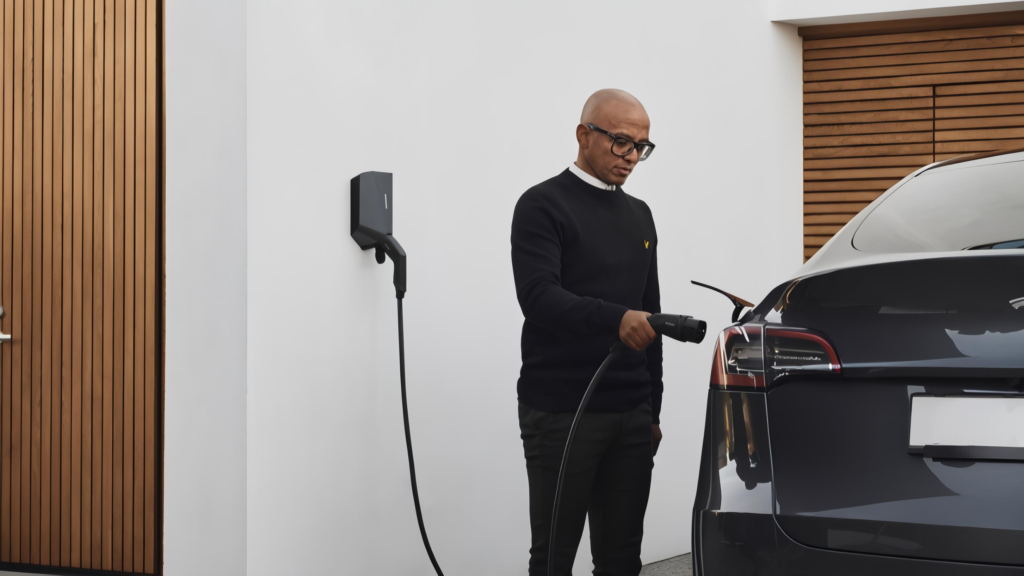
3. Planning Where to Put Your Charger

Where will your charger live? Pick a spot close to where you park your EV, like the garage or driveway. Think about the weather rain or snow shouldn’t splash it! You’ll also need to run wires from the panel to this spot, so plan smart.
- Garage Win: Inside keeps it dry and safe.
- Driveway Option: Outside works if you get a weatherproof charger.
- Cable Length: Make sure the cord reaches your car’s plug easily.
- Pro Trick: Mount it on a wall to save space and look tidy!
4. Getting the Right Tools and Materials
Installing a charger is like building a cool project you need the right gear! You’ll use wires, a breaker, and maybe a mounting kit. Don’t worry, we’ll list it all so you’re ready. If you’re not handy, an electrician can help.
- Wire: Thick copper wire (6-8 gauge) for Level 2 chargers.
- Breaker: A 40-50 amp breaker fits most Level 2 setups.
- Tools: Screwdriver, drill, and wire cutters borrow if you don’t have ‘em!
- Unique Idea: Grab a colorful wire sleeve to make it look fun.
5. Getting Permits and Following Rules
Before you start, check with your town they might want a permit. It’s like asking permission to build a fort! Rules keep everything safe and legal. Some places even give you money back for installing a charger sweet deal!
- Call City Hall: Ask about electrical permits for EV chargers.
- HOA Check: If you have a homeowners’ group, tell them your plan.
- Rebates: Look online for EV charger discounts in your area.
- Fun Fact: Permits sound boring, but they protect your house!
6. Installing the Charger
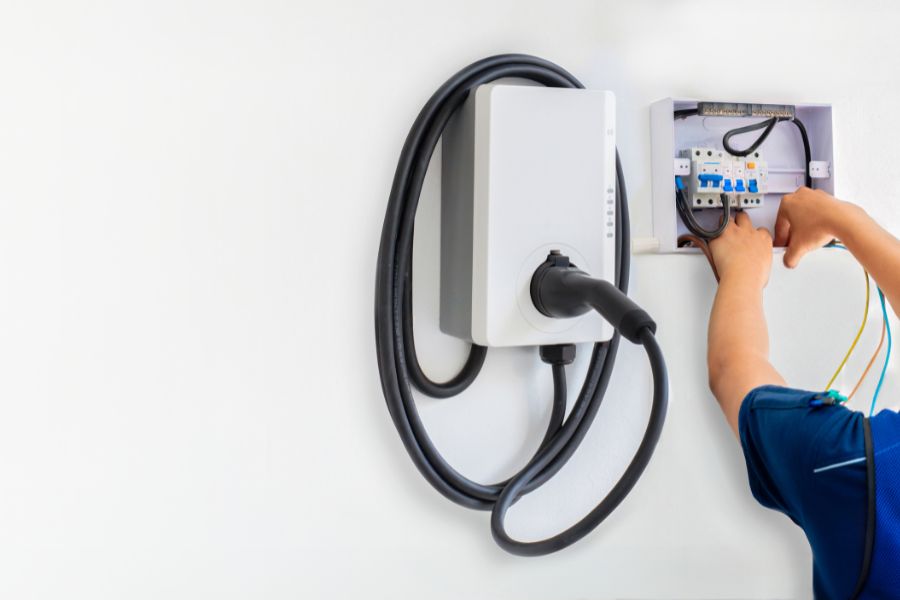
Now it’s time to set it up! You can do it yourself if you’re brave, or hire an electrician to make it quick. Either way, turn off the power first safety is key! Follow these steps, and you’ll be charging soon.
- Turn Off Power: Flip the main breaker so it’s safe to work.
- Run Wires: Connect the panel to your charger spot keep ‘em straight.
- Mount It: Screw the charger to the wall or a post.
- Special Tip: Label your wires with tape so you don’t mix ‘em up!
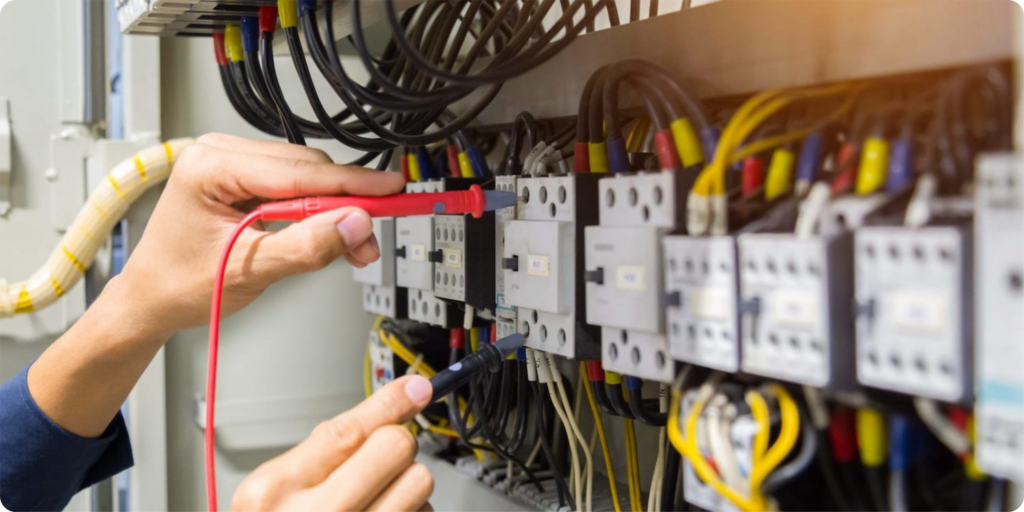
7. Connecting the Wires Safely
Wiring is like plugging in a giant puzzle each piece has a spot! You’ll connect the charger to the breaker with thick wires. Double-check everything, because electricity is serious stuff. If it’s tricky, let a pro handle this part.
- Black Wire: This is the “hot” one goes to the breaker.
- White Wire: Neutral wire hooks to the neutral bar.
- Green Wire: Ground wire keeps it safe, goes to the ground bar.
- Neat Trick: Twist wires tight so they stay snug and safe.
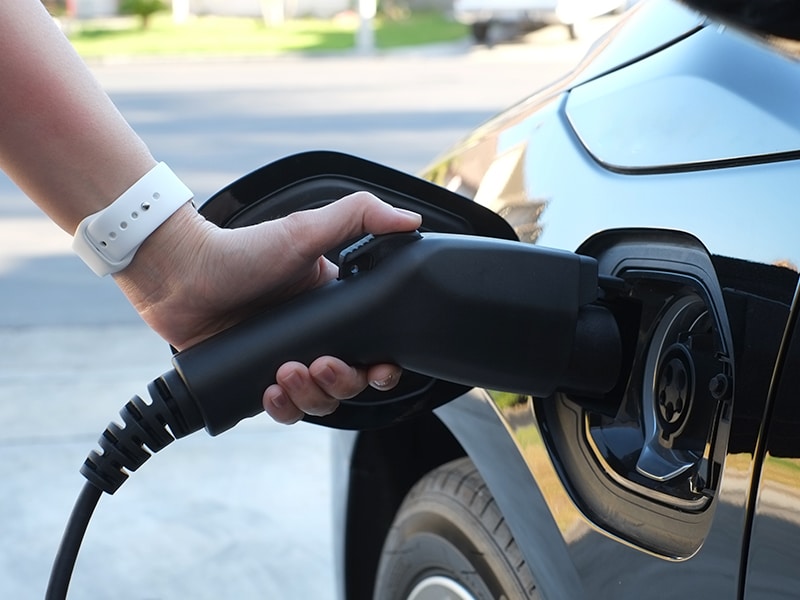
8. Testing Your New Charger
Plug it in and see if it works exciting moment! Turn the power back on and watch the charger light up. Test it with your EV to make sure it’s charging. If it doesn’t, don’t panic—just check the wires again.
- Power On: Flip the breaker and look for lights on the charger.
- Plug In: Connect your EV and listen for a click.
- Check Speed: See how fast it charges—should match the manual.
- Cool Hack: Use your phone app (if it has one) to test remotely!
9. Keeping Your Charger Happy and Safe
Your charger’s installed yay! Now keep it working great. Dust it off, check the cord, and don’t let water sneak in. A happy charger means a happy EV, and that’s the goal!
- Clean It: Wipe it with a dry cloth every few months.
- Cord Care: Don’t let it twist or kink store it neat.
- Weather Watch: Cover it if it’s outside in big storms.
- Unique Tip: Add a tiny roof over it for extra rain protection!
Step 10. Troubleshooting Common Problems
Sometimes things go wonky, but don’t worry we’ve got fixes! If it stops charging or blinks funny, try these tricks. Most issues are simple, and you’ll be back on the road fast.
- No Power: Check the breaker did it trip?
- Slow Charge: Make sure your EV’s settings match the charger.
- Blinking Lights: Look at the manual for what they mean.
- Pro Secret: Restart it by unplugging for 10 seconds works like magic!
Making Your EV Life Even Better
You’re a charging pro now, so let’s add some fun! These extras make your EV life awesome. From saving cash to showing off, you’ll love these ideas.
- Charge at Night: Electricity’s cheaper then save a few bucks!
- Solar Power: Add solar panels for free, green charging.
- Show It Off: Paint your charger spot with cool EV designs.
- Unique Hack: Set a timer so it charges when you’re asleep!
Conclusion
Congrats you’ve got a home EV charger ready to roll! It’s easy, saves money, and keeps your car happy. Follow this guide, and you’ll be zooming around with a full battery every day. Share your story with us we’d love to hear it!

")

