
Buying a used car can feel like a treasure hunt. You’re excited to find a gem, but there’s always that little voice whispering, “What if it’s a lemon?” I get it—cars are a big investment, and no one wants to end up with a money pit on wheels. That’s why knowing how to inspect a used car yourself is a game-changer. You don’t need to be a mechanic or have a garage full of tools. With a sharp eye, a little patience, and this ultimate checklist, you can spot red flags and feel confident about your purchase. Let’s dive in and break it down step by step—everything from the exterior to the engine, the interior to the test drive. Ready? Let’s roll!
Why Inspecting a Used Car Yourself Matters
Before we get into the nitty-gritty, let’s talk about why these matters. Sure, you could trust the seller’s word or even a mechanic’s report, but doing your own inspection gives you control. You’ll catch things others might miss—like that faint smell of mildew or a shaky steering wheel. Plus, it’s empowering! You’re not just handing over your hard-earned cash; you’re making an informed choice. This checklist is designed for beginners, so don’t worry if you’ve never popped a hood before. By the end, you’ll feel like a pro.
What You’ll Need Before You Start
Preparation is key. Here’s a quick list of things to bring along:
- A flashlight (for dark corners and under the car).
- A small magnet (to check for body filler).
- A rag or gloves (things might get greasy).
- A notebook or phone (to jot down notes or take pics).
- A friend (optional, but a second pair of eyes helps).
Got everything? Great. Now let’s start with the outside.
Step 1: Inspect the Exterior Like a Detective
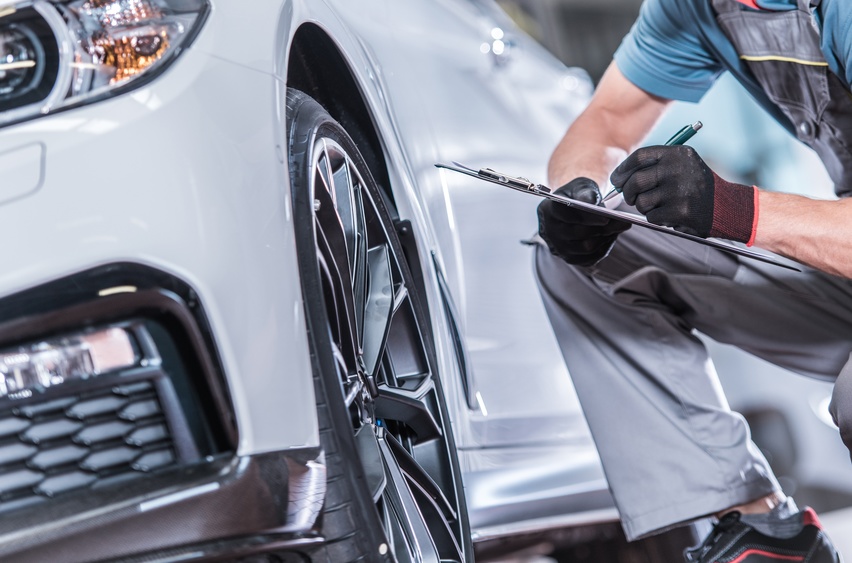
The outside of a car tells a story. Walk around it slowly—don’t rush this part. Look at the body for dents, scratches, or rust. Rust is a sneaky troublemaker. Check the wheel wells, door edges, and under the bumpers. If you see bubbling paint, that’s a sign rust might be hiding underneath. Use your little magnet here: if it doesn’t stick to a spot, the car might have body filler covering up damage from an accident.
Next, check the paint. Does it match everywhere? A mismatched color could mean the car was repainted after a crash. Look at the gaps between panels—doors, hood, trunk. They should be even. Uneven gaps scream “repaired after a wreck.” Open and close the doors, hood, and trunk. Do they feel solid, or do they wobble? Wobbly parts might mean loose hinges or poor repairs.
Don’t forget the windows. Cracks or chips in the windshield can grow into bigger problems (and cost you later). And peek at the lights—headlights, taillights, turn signals. Are they foggy or cracked? Replacing them isn’t cheap.
Step 2: Get Down and Dirty with the Tires
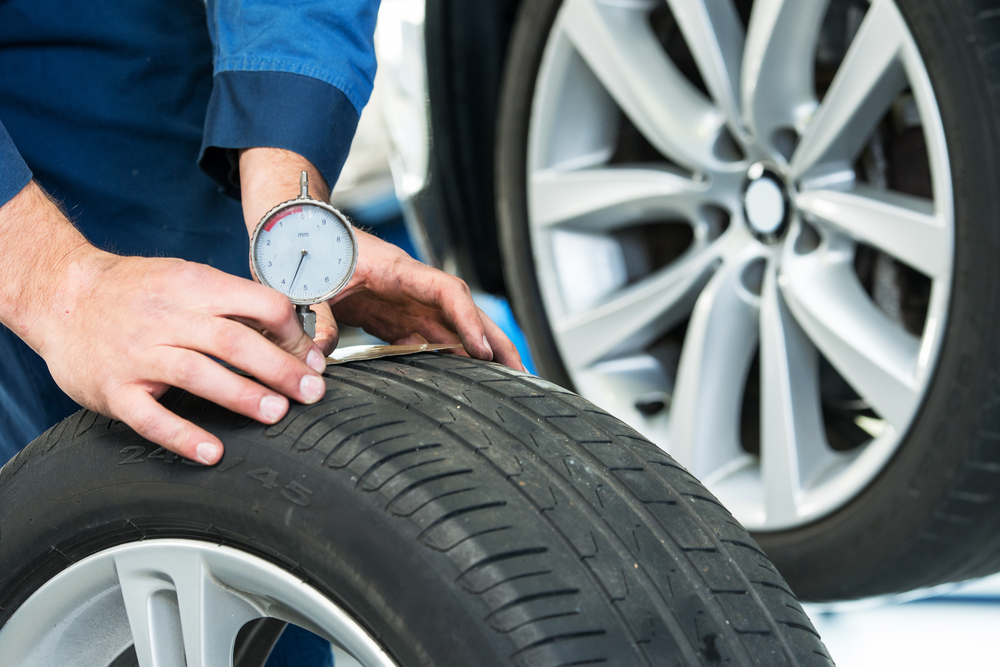
Tires are your car’s shoes—they need to be in good shape. Look at the tread. Stick a penny in the groove with Lincoln’s head upside down. If you can see the top of his head, the tread’s too worn, and you’ll need new tires soon. Check all four tires for uneven wear. If one side is bald and the other’s fine, the car might have alignment issues or suspension trouble.
Look for cracks or bulges on the sidewalls—those are danger signs. And don’t skip the spare tire! I once bought a car with a flat spare tucked away in the trunk. Guess who got a flat two weeks later? Yep, me. Lesson learned.
Step 3: Pop the Hood and Face the Engine
Okay, this part might feel intimidating, but you’ve got this. Pop the hood (if you’re not sure how, check the owner’s manual or ask the seller casually). First, look for leaks. Oil stains or puddles under the car are bad news. Peek at the engine—are there wet spots or greasy patches? That could mean oil or coolant leaks.
Check the fluids. Pull the dipstick for the oil (it’s usually a long, skinny stick with a loop). Wipe it clean, dip it back in, and pull it out again. The oil should be a nice amber color—not black or gritty. Black oil means it hasn’t been changed in a while, and gritty oil could signal engine wear. Look at the coolant, too—it’s in a plastic tank near the radiator. It should be bright (green, orange, or pink) and full to the line.
Battery time! Look for white crusty stuff around the terminals—that’s corrosion and could mean electrical issues. And sniff around. A rotten egg smell might point to a battery or exhaust problem.
Step 4: Crawl Underneath
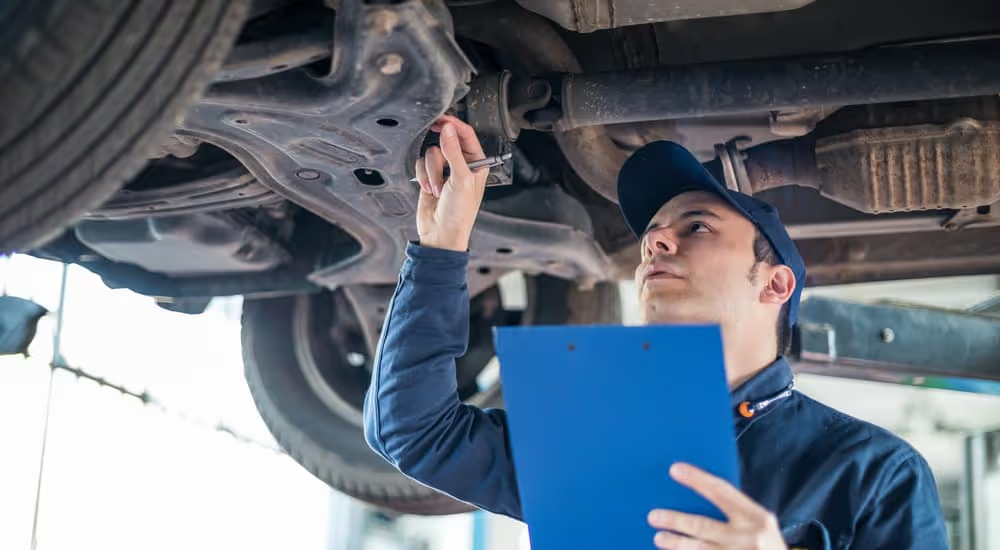
You don’t need a lift for this—just a willingness to get low. Use your flashlight and look under the car. Rust on the frame or exhaust is a dealbreaker—it’s expensive to fix. Check for leaks again—oil, transmission fluid (red), or coolant (bright). If the ground’s wet where the car’s been sitting, take note.
Look at the exhaust pipe, too. Black soot is normal, but sticky, wet residue could mean the engine’s burning oil. That’s a repair waiting to happen.
Step 5: Step Inside and Explore the Interior
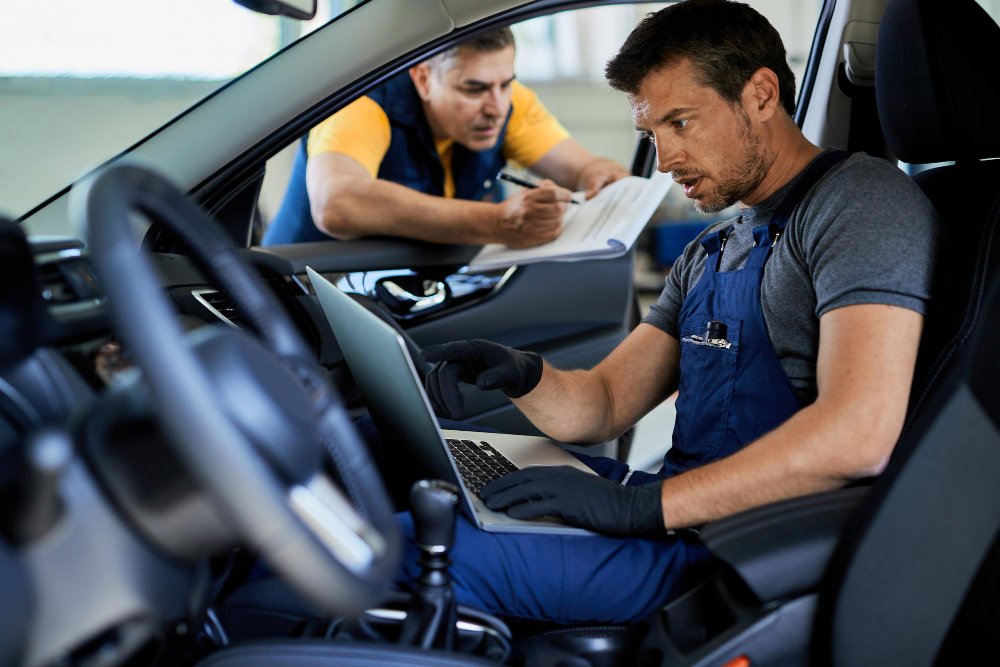
Now let’s hop inside. Sit in the driver’s seat and take a deep breath. Does it smell musty or moldy? That’s a sign of water damage—hard to fix and unhealthy to breathe. Look at the seats, carpet, and headliner (the ceiling fabric). Stains, tears, or sagging could mean neglect.
Test everything. Turn on the AC—does it blow cold? Flip on the heat—does it warm up fast? Play with the radio, windows, and locks. If something’s broken, it’s a bargaining chip. Check the dashboard for warning lights when you turn the key (don’t start it yet). They should light up, then go off. If they stay on, there’s a problem.
Grab the steering wheel and wiggle it. Too much play? That’s a steering issue. Push the pedals—do they feel spongy or firm? Spongy brakes are a safety hazard.
Step 6: Take It for a Spin—The Test Drive
This is the fun part! Start the engine. Does it crank right up, or does it struggle? Listen for weird noises—clicking, grinding, or knocking. Those are cries for help from the engine. Let it idle for a minute. If it shakes or stalls, walk away.
Drive on different roads—city streets, highways, bumpy paths. How’s the acceleration? Sluggish could mean transmission trouble. Brake hard (safely)—does the car stop smoothly, or does it pull to one side? That’s alignment or brake issues. Turn the wheel sharply—any squeaks or clunks? That’s suspension talking.
Pay attention to smells, too. Burning oil or a sweet scent (coolant) means leaks. And keep an eye on the gauges—temperature or oil pressure spiking is a red flag.
Step 7: Dig Into the Paperwork

Last but not least, check the car’s history. Ask for the title—make sure it’s clean (no “salvage” or “rebuilt” labels). Get a vehicle history report (like Carfax) to see accidents or odometer rollbacks. Look at maintenance records—regular oil changes and repairs show the car was loved.
Bonus Tips for a Smart Buy
Here’s some extra wisdom I’ve picked up:
- Inspect in daylight—shadows hide flaws.
- Bring a friend who knows cars if you’re unsure.
- Trust your gut—if something feels off, it probably is.
- Take pics of anything weird to show a mechanic later.
Conclusion: Drive Away with Confidence
You’ve made it through the ultimate checklist—congratulations! Inspecting a used car yourself might seem overwhelming at first, but it’s like learning to ride a bike: once you get the hang of it, you’ll wonder why you ever hesitated. Armed with this guide, you’ve got the power to spot a diamond in the rough or dodge a disaster on wheels. Every dent you notice, every fluid you check, and every test drive you take brings you closer to a car that’s not just a good deal but a great fit for your life. So go out there, trust your instincts, and drive away with confidence. Your perfect used car is waiting—and now you know exactly how to find it.
")
")


")