
Over time, your car’s headlights may become foggy, yellowed, or hazy due to exposure to sunlight, dirt, road debris, and weather conditions. Cloudy headlights not only affect the appearance of your vehicle but also reduce visibility, making night driving more dangerous.
Instead of replacing your headlights, you can restore them using simple, cost-effective methods at home. With just a few basic tools and some patience, you can regain the original clarity of your headlights, improve road safety, and make your car look newer. In this guide, we will take you through detailed, step-by-step instructions to restore your headlights easily and effectively.
Why Do Headlights Become Foggy?

Understanding the reasons behind foggy or yellowed headlights can help prevent the problem in the future. Here are the most common causes:
UV Radiation: Prolonged exposure to the sun breaks down the plastic, leading to oxidation, which causes the headlights to turn yellow or cloudy.
Dirt and Road Debris: Small debris from the road creates microscopic scratches, making the surface appear dull.
Moisture Build-Up: Condensation inside the headlight housing can blur the light output.
Weather Conditions: Rain, snow, and extreme temperature changes affect the protective coating on headlights.
Car Wash Chemicals: Some harsh cleaning agents degrade the plastic, accelerating oxidation.
Now that we understand why headlights become foggy, let’s go over how to restore them properly.
Tools and Materials Needed
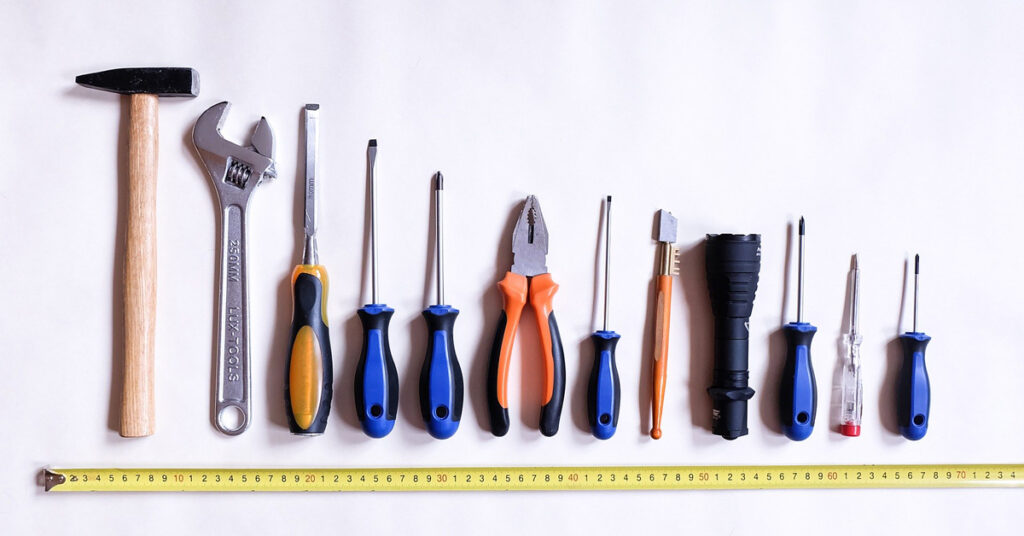
Before you start the restoration process, gather the following materials:
Microfiber cloth
Automotive masking tape
Soapy water and sponge
Sandpaper (400, 800, 1200, and 2000 grit)
Plastic polish or metal polish
Headlight restoration kit (optional)
Non-gel white toothpaste (for minor restoration)
Baking soda and vinegar mixture (eco-friendly option)
UV sealant or headlight protectant spray
Once you have these items, you’re ready to begin restoring your headlights.
Step-by-Step Guide to Restore Your Headlights
Method 1: Sanding and Polishing for Deep Restoration
This method works best for severely oxidized or scratched headlights.
Step 1: Clean the Headlights
Start by washing your headlights with warm, soapy water and drying them with a microfiber cloth. This will remove loose dirt and debris.
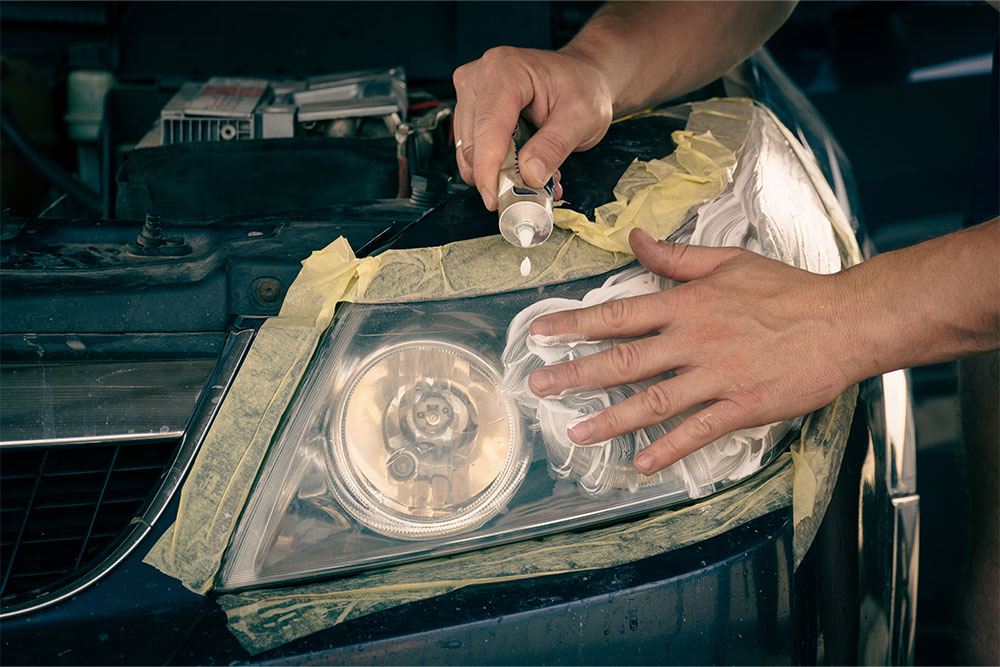
Step 2: Tape Off Surrounding Areas
Use automotive masking tape to cover the areas around the headlights. This will prevent accidental damage to the car’s paint while sanding.
Step 3: Wet Sanding Process
Start with 400-grit sandpaper and sand in circular motions while keeping the surface wet.
Progress to 800-grit sandpaper to smooth out the oxidation.
Move to 1200-grit, then 2000-grit, for a polished finish.
Keep the surface wet throughout the process to avoid scratching the plastic.
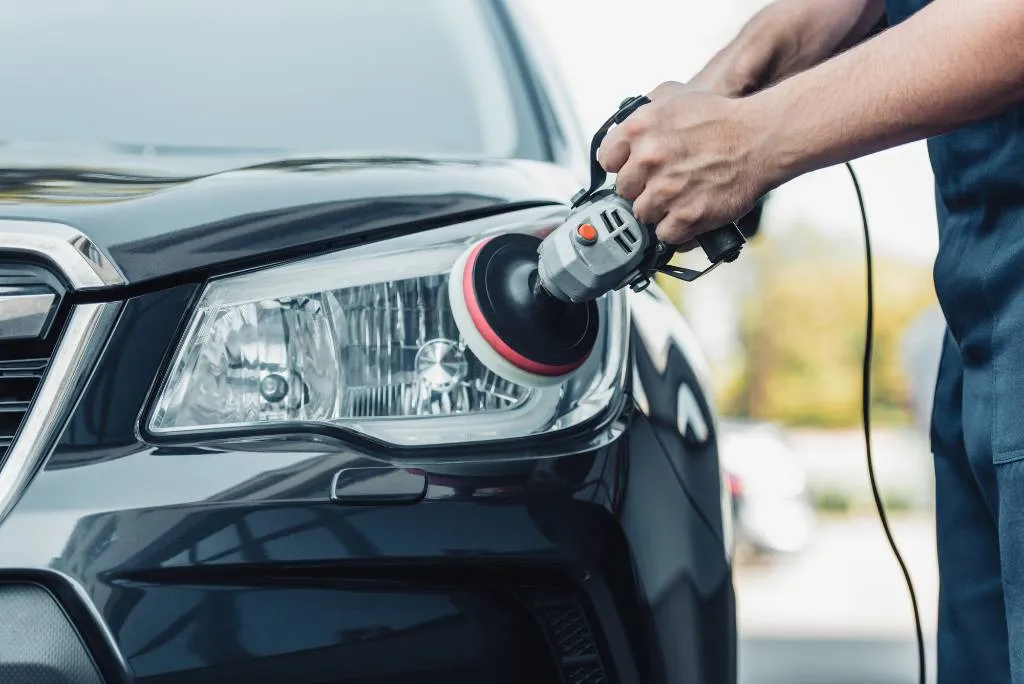
Step 4: Apply Polish or Rubbing Compound
Use a plastic polish or rubbing compound and apply it in circular motions with a microfiber cloth or a polishing pad.
Buff out any remaining haze until the headlights regain their transparency.
Step 5: Buff and Apply UV Sealant
After polishing, apply a UV-resistant sealant to protect the headlights from future oxidation.
Method 2: Toothpaste for a Quick Fix
If your headlights are slightly foggy, toothpaste can be an effective budget-friendly solution.
Step 1: Wash and Dry the Headlights
Use soapy water to clean your headlights and dry them thoroughly.
Step 2: Apply Toothpaste
Take non-gel white toothpaste and apply a generous amount to the headlight.
Use a soft cloth or sponge to rub the toothpaste in circular motions for 5–10 minutes.
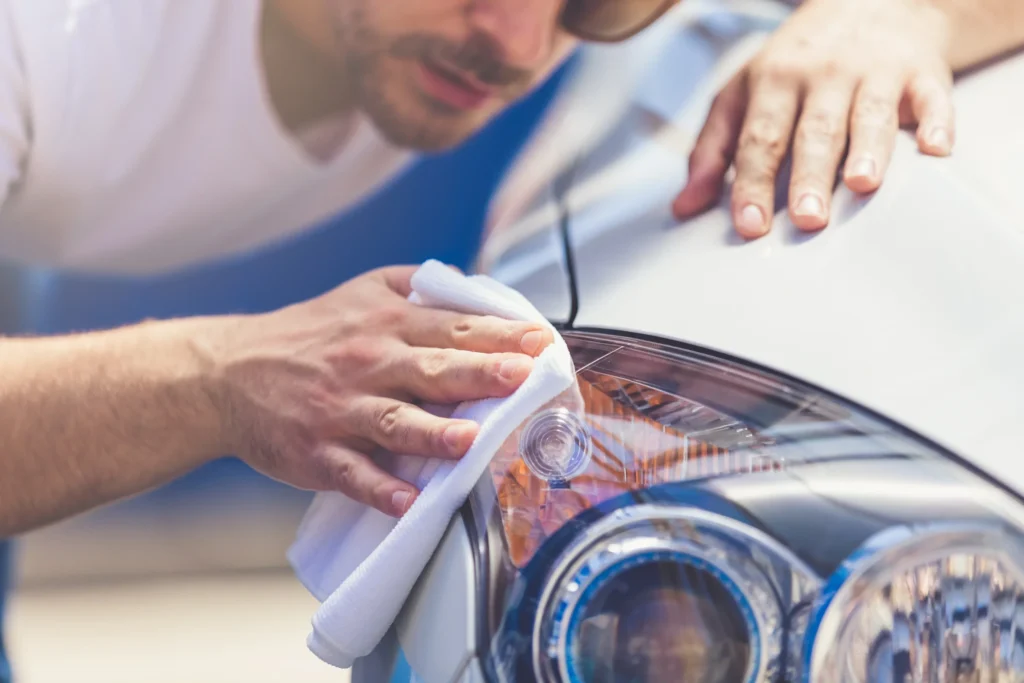
Step 3: Rinse and Buff
Rinse the toothpaste off with clean water and wipe the headlights with a microfiber cloth.
Step 4: Apply UV Protection
Finish by applying a UV protectant spray to prevent future yellowing and oxidation.
Method 3: Baking Soda and Vinegar Solution
For an eco-friendly cleaning method, a mixture of baking soda and vinegar works well.
Step 1: Prepare the Cleaning Paste
Mix equal parts of baking soda and vinegar to create a paste.
Step 2: Apply and Scrub
Use a sponge or cloth to scrub the headlights in circular motions for 5–7 minutes.
Step 3: Rinse and Protect
Wash off the mixture and apply a UV sealant to keep the headlights clear.
How to Maintain Clear Headlights
Regularly wash your car to prevent dirt accumulation.
Apply a UV protectant every 3–6 months to prevent oxidation.
Park in a garage or shaded area to reduce sun damage.
Avoid using harsh chemical cleaners that can damage the headlight lens.
Use a headlight restoration kit for periodic maintenance.
When Should You Replace Your Headlights?
Restoration is a great way to extend the lifespan of your headlights, but in some cases, replacing them is the best option. Consider replacing your headlights if:
There are deep cracks or internal moisture buildup.
Light output remains poor even after restoration.
The headlight housing is permanently damaged or faded beyond repair.
Conclusion
Restoring your car’s headlights is a simple and cost-effective way to improve both the aesthetics and safety of your vehicle. Whether you opt for the deep sanding and polishing method, the toothpaste trick for a quick fix, or the eco-friendly baking soda solution, you can bring back your headlights’ clarity in just a few easy steps.
")
")


")
