
Hey there, DIY enthusiast! So, your car’s been dragging its feet lately, huh? Turns out that lazy battery is to blame, but don’t sweat it—you don’t need to shell out big bucks for a mechanic. With a handful of tools and a spare half-hour, you can swap that car battery yourself. It’s way simpler than you’d guess, and I’m here to guide you through every step like your personal pit crew. Ready to save cash and strut your stuff? Let’s pop the hood and get this party started!
Got a car that’s giving you the cold shoulder? It’s probably that old battery slowing you down! But before you dial up a mechanic and hand over your hard-earned cash, here’s the good news: replacing your car battery is a lot easier than you think. With just a few basic tools and a little bit of elbow grease, you can do it yourself. Ready to take charge and save some money? Let’s pop the hood, roll up our sleeves, and get to work!
Why Should You Replace Your Car Battery Yourself?
Alright, let’s tackle the big question: why bother doing this DIY gig? Simple—replacing your own car battery saves you some serious dough, and the bragging rights? Priceless. Picture this: you pop the hood, swap the battery, and bam—you’re a car expert in your own driveway. No engineering degree needed, just a little grit. Plus, if you’ve ever twiddled your thumbs at a mechanic’s shop for hours over a basic fix, you’ll love how quick this is at home. It’s a win-win, folks!
How Do You Know It’s Time for a New Battery?
Spot the Signs Before You’re Stranded
Before you dive into replacing that car battery, let’s make sure it’s really on its last legs. Here’s the scoop: if your car’s slow to start—like it’s groaning through a Monday morning—or you hear that sad, slow cranking noise, your battery’s waving goodbye. Dim headlights flickering like a horror movie? Weird radio glitches? Yup, power’s fading. Check for white, powdery gunk around the terminals—that’s corrosion slowing things down. And if your battery’s been kicking around for 3-5 years, it’s probably time to swap it, even if it’s playing coy. Trust me, better now than stuck in a parking lot!
What You’ll Need to Replace Your Car Battery
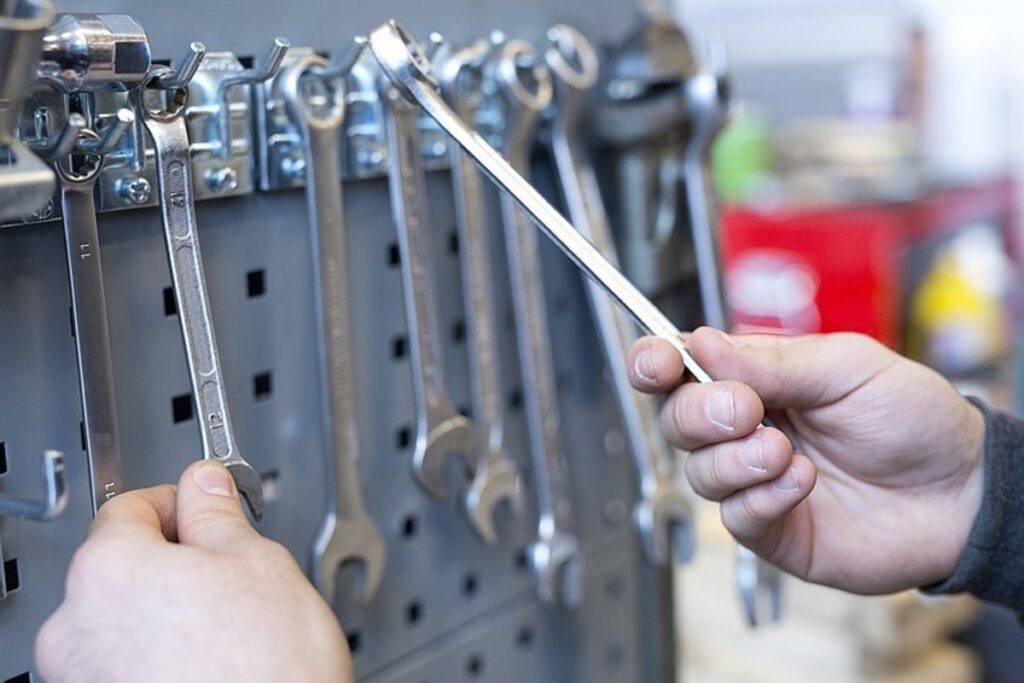
Gear Up—It’s Tool Time!
Ready to roll up your sleeves? You don’t need a pro toolkit to replace a car battery—just a few basics. Grab a wrench or socket set to loosen those bolts, some gloves to keep your hands gunk-free (and safe from battery acid), and safety glasses because, well, eyes are precious. A battery terminal cleaner’s handy for scrubbing off corrosion, and of course, you’ll need a shiny new battery—check your car manual for the right one, don’t just wing it! That’s it—simple stuff for a simple job.
Step-by-Step Guide to Replacing Your Car Battery
Step 1: Turn Off the Car and Open the Hood
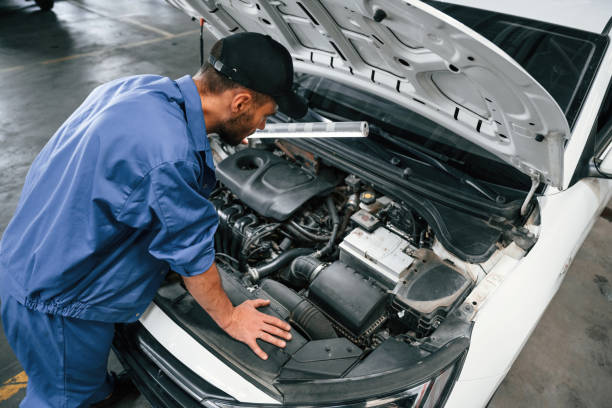
Let’s kick things off right—safety first! Make sure your car’s totally off, keys out of the ignition, and then pop that hood like a pro. Double-check everything’s powered down—no surprises, no sparks. I forgot this once and got a beep that nearly sent me running. Take a sec, breathe, and let’s keep this smooth and shock-free!
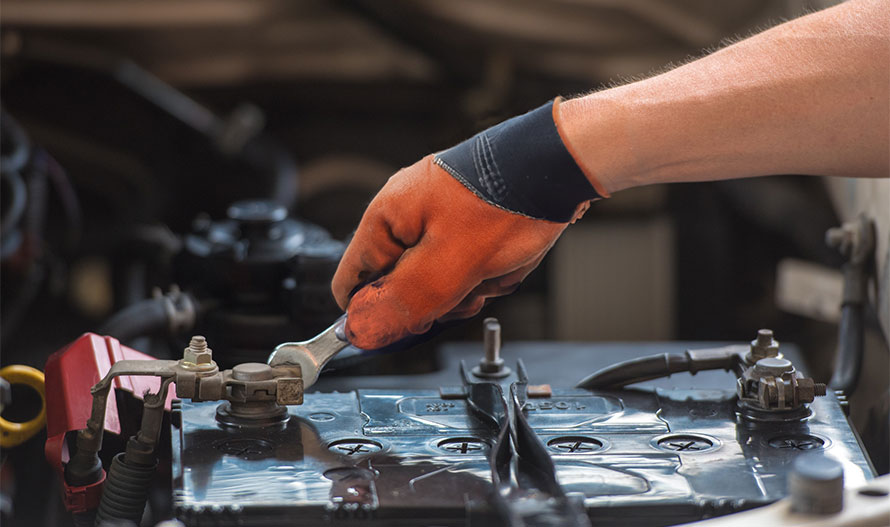
Step 2: Disconnect the Negative Terminal
Time to get hands-on—start with the negative terminal, marked with a “-” and usually black. Grab your wrench, loosen the bolt holding that cable, and pull it off. Tuck it away from metal parts—no shortcuts here! Negative goes first to avoid any zappy drama. Trust me, it’s the golden rule of battery swaps.
Step 3: Disconnect the Positive Terminal
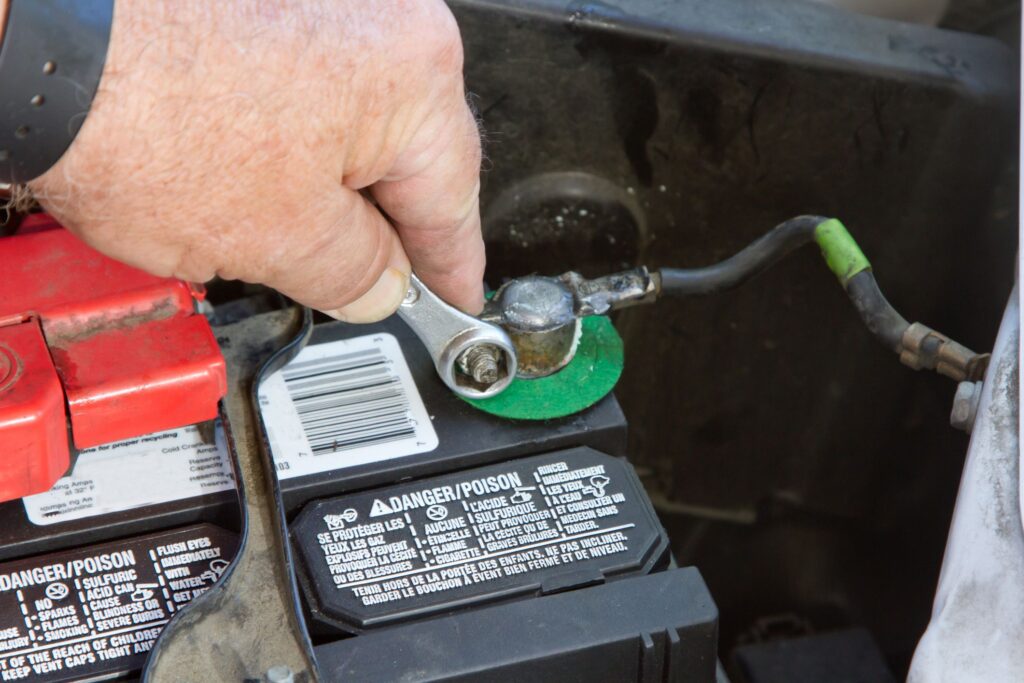
Next up, the positive terminal—look for the “+” sign, often red. Same deal: loosen the bolt with your wrench, remove the cable, and keep it clear of anything metal. Positive comes second after negative to dodge sparks. Once both cables are off, your battery’s officially out of commission—halfway there!
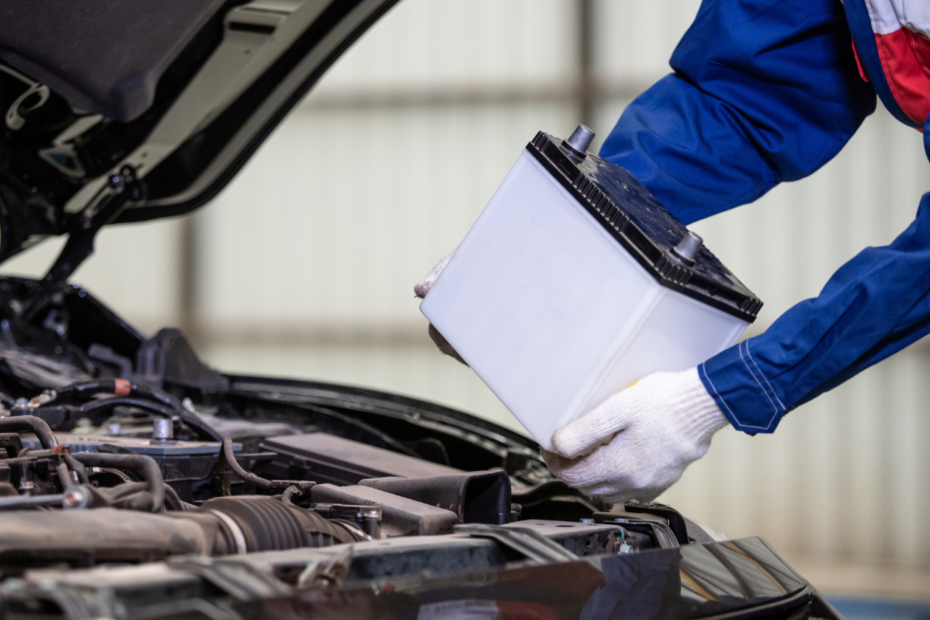
Step 4: Remove the Old Battery
Now, let’s free that old battery! Look for any brackets or straps holding it down—might need your wrench to loosen ‘em. Once everything’s undone, lift that sucker out. It’s hefty—40-50 pounds—so brace yourself. Stuck? Give it a wiggle, but don’t yank too hard. Nearly dropped mine once—talk about a workout!
Step 5: Clean the Battery Terminals
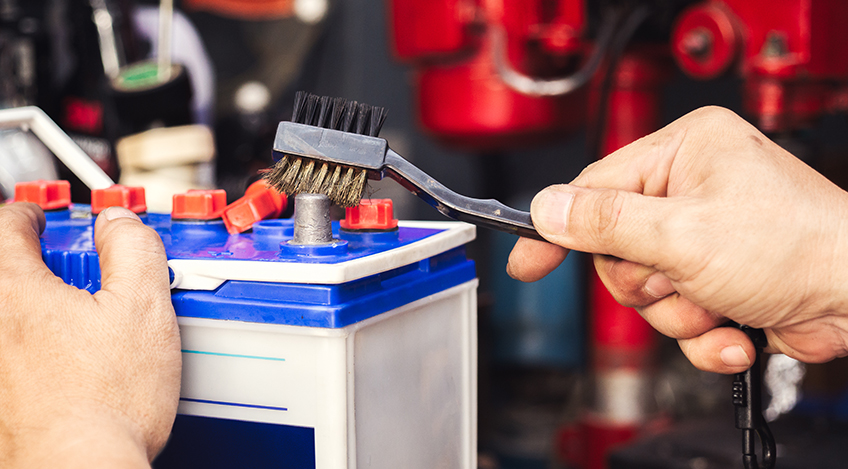
Before the new battery swoops in, let’s tidy up. Grab your terminal cleaner or mix some baking soda and water, then scrub those terminals with a wire brush. Get rid of any corrosion or grime—it’s like a spa day for your car. Clean connections mean a happy new battery, so don’t skip this!
Step 6: Install the New Battery
Here’s the fun part—new battery time! Gently lower it into the tray, making sure it sits tight. A wobbly battery’s no good, so check it’s snug. It’s like sliding in the last puzzle piece—satisfying, right? Take a sec to admire your handiwork—you’re crushing it!
Step 7: Connect the Positive Terminal First
Let’s hook it up—start with the positive terminal. Attach that red cable to the “+” post and tighten the bolt. Snug, not superhero-tight—just enough for a solid connection. Positive goes first this time to bring the power back safely. Almost there!
Step 8: Connect the Negative Terminal
Now, the negative—black cable to the “-” post. Tighten it up same as before, keeping it secure but not overdone. Both terminals on, and your battery’s ready to roll. I always feel a little tingle of excitement here—like I’m waking the car up!
Step 9: Secure the Battery

If there’s a bracket or strap, bolt it back down now. You don’t want that battery bouncing around like a pinata. Tighten those bolts, and give it a gentle shake to test—solid as a rock? Perfect. You’re in the home stretch!
Step 10: Start Your Car
Moment of truth—hop in and turn that key! If the engine fires up smooth and your dashboard lights up like normal, you’ve nailed it. That first purr after a DIY battery swap? Pure magic. If it’s all good, pat yourself on the back—you’re a car-fixing rockstar!
Conclusion:
There you have it, folks—replacing a car battery isn’t rocket science, and you just proved it! With a little know-how and some basic tools, you’ve saved cash and earned serious street cred. That sweet hum when your car starts up? That’s all you, no mechanic required. Next time your battery flops, you’ll be ready—no panic, just action. So go enjoy the road, and maybe tell your pals about your DIY triumph—they’ll be jealous!
")
")


")
